Have you ever gone to the movie theatre and watched a movie in 3D? How about playing 3D video games on a PC or console? Would you compare the experience with that of a 2D video production?
When it comes to 3D video, its demand is growing every day. It is easy to see why there is so much love: They are engaging, super exciting, and fulfilling, giving the viewer a richer experience. Furthermore, 3D animation videos tend to have graphics that are sharper, livelier, and cooler.
The entertainment industry is not the only benefit of 3D technology. 3D professional video services are also present in virtual gaming, automotive, architecture, biotech, and advertising.
Suppose you plan to incorporate this type of video into your website animation or use it for business presentations. In that case, you should familiarize yourself with the basics of 3D video animation.
Let’s begin.
What is 3D Video Animation?
3D video animation is the process of inserting characters, images, and objects in a three-dimension space and then carefully twerking them to create a realistic illusion of motion.
The goal of any 3D motion graphic designer should be to make sure that the characters and objects in any given scene moves and behave as realistically as possible. Even if they make the perfect animated character, but its movement is robotic, lagged, or obstinate, it will be all for nothing. That’s why creators will spend a lot of time learning the basic principles of motion of making the animation appear lifelike.
In a digital environment, one can make objects based on assimilated 3D objects using 3D modeling tools. Alternatively, you can use blueprints for 3D animated objects by scanning real-life objects into a computer.
Take a quick look at most animation movies and video games released in the 2010s and after. Although their stories are in an animated world, it is easy to see the lifelike movement of the 3D character. Their fluidity is also consistent with the physical laws governing our world for most of the actions viewed.
Is there a Difference Between 3D and 2D Animation?
Yes, there are differences. The names themselves, three-dimension and two-dimension, already hint at what they are all about.
2D animation is based on the X and Y axis, which is a two-dimensional plane. In other words, it is a flat-based representation that achieves motion through a quick run of different 2D scenes. Most Disney produced before the 2000s, like The Little Mermaid, plus the original Lion King and Aladdin were 2D productions. Today, adult cartoons like Rick and Morty, South Park, Big Mouth, American Dad, etc., are utilizing 2D animation technology.
On the other hand, 3D animation adds the Z-axis to add depth to the characters and images, thus making them more realistic. To achieve motion in 3D, one must first build 3D models, then maneuver them in a setting that is in three-dimension to gain more flexibility.
In other words, a designer draws 2D images by hand, while a computer generates the images for 3D.
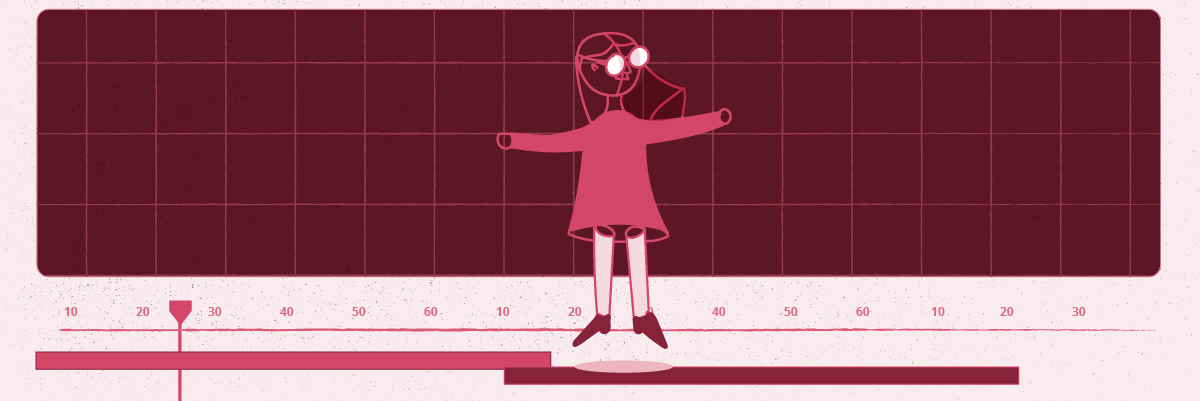
Steps to Creating a 3D Video Animation
1. Storyboard and Concept
This step is applicable for both 2D and 3D video production.
It starts with conceptualizing various notions and then making storyboards that help render the concepts visually. This storyboard is a blueprint that helps in planning out the dialogue and action of the characters.
A storyboard is like a 2D artwork that is not yet animated: it tells the story in two dimensions. The first dimension involves time, whereby the action and movements of the characters, plus objects, runs from start to finish—the second consists of tying together the visual aspects to the communication of voiceovers and the musical soundtrack.
2. Animatic
Animatic is the next level after coming up with a storyboard. Although animatics are not always necessary, they’ll help illustrate a fuller sense of what the final product will be like. Thus, they are helpful when it comes to complex visual effects and action scenes.
So, what is an animatic?
An animatic is the editing of storyboard images together with sound, dialogue, music, and sound effects to highlight how a sequence flows in the overall motion. In short, it is an animated storyboard.
3. Creating a 3D Model
After creating an animatic, the next phase is creating the environment, props, and characters through modeling. Here, you’ll first draw the primitive objects then model them in two or three dimensions.
The primitive object can be a simple representation of a curve, a two-dimensional line, a single point, or a complex three-dimensional object. Later, the designer can extend the thing into a refinable shape, whereby more details are addable later.
4. Texturing
Texturing, also known as mapping, is the art of clothing your 3D models.
In this stage, you will overlay the 2D images with specific properties such as:
- textures
- transparency
- reflectivity
- shininess
- design
- translucency
You can also use real photographs by capturing and altering them to make seamless repeatable patterns.
5. Skinning
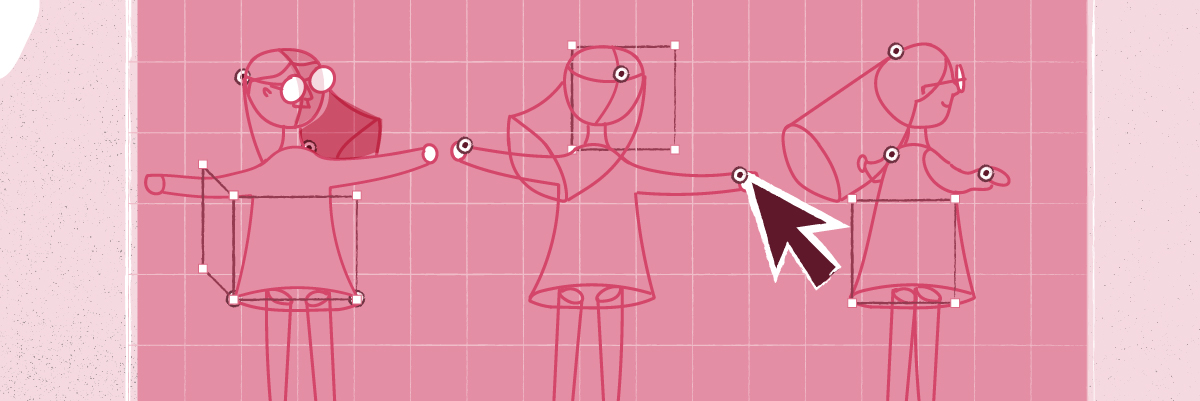
This phase is central to the animation process. The rigging and skinning phase creates an original system for directing the movement of a character to bring it to life.
Here, you’ll need to attach the rigged skeleton to the 3D models. Then use the rig controls to manipulate the movement of the object.
6. Animation
This is the most significant part of the 3D animation process. It is also the most time-consuming part of the production.
Here, animation deals with a character’s fluidity of motion, timing, and expressiveness through movement. These riggings are achievable by placing the items on spines, importing data that capture data, or placing them in the path of a curve. You’ll also manipulate the object’s movement on a frame-by-frame basis.
7. Illumination and Camera
Illumination, or lighting, is crucial in creating an image that is not only appealing but also realistic. By skillfully applying lighting to a scene, it will be virtually indistinguishable from real-life representations. However, if you use improper lighting, it might wash out the background, making the object appear different from the real world.
Hence, use lighting to control shadow appearance while highlighting specific visual effects of a scene such as fog, fire effects, glow, and lens flares. Remember, illumination affects reflection and transparency, special effects such as glasses and fluids, plus the moods felt in a particular scene.
As for the camera, it does not have any physical limitations like in the real world. You can utilize it to make impossible perspectives or even journey inside the microscopic world.
Fortunately, in a 3D world, you can create multiple cameras and place them in any location you desire, even directly putting two or more facing a character. You can also use the settings to mimic the depth of field and the focal length.
8. Rendering
Rendering is the act of translating all the details that make up the shots found in the files into a single film. It also includes anything from creating the required environment to replacing the blue/green screen.
In this phase, you’ll have to calculate the individual pixels for every flame, basing the calculation on the effects, material, and lighting. This process is so robust that you can choose various algorithms to render different results, such as a cartoonish look or a more photorealistic appearance.
Kindly note that rendering is quite a CPU-intensive process, taking several hours to render a short DVD animation.
After the renders, you can then add special effects in a process called composting. Developing computer-generated material from live footage is also in the category of composting.
Moreover, you can include different background music to boost the audio enjoyment, which gives the 3D video more depth.
9. Final Output
This stage is the finality of the 3D animation video process before it handing over to the client. The video designer will conduct editorial checks such as compiling and editing, ensuring the synchronicity of all aspects of the 3D video final product.
Once satisfied, the video producer will export the assembled film into the required format before delivering it to the client.
How much does a 3D video Animation Cost?
Did you find the 3D animation process daunting?
Do not despair. We cannot achieve everything ourselves: We have different abilities and strengths in our lives. Just outsource your video project to competent remote working websites like Bunny Studio that have quality as their number one priority. They even have a quality control team that ensures every video production is per the current market standards.
So, how much would it cost you for a 3D animated video?
Due to the details of the animation or characters required, each project production is unique—to some degree. Nevertheless, the cost per hour usually ranges from $25 to 150$. Some video producers might consider giving you discounts if the projects are many and in constant supply, providing employment opportunities for a period.
At Bunny Studio, we’ll use factors like the submission deadline, the animation’s degree of clarity, the project’s complexity, and its length to determine the charging cost.
In Conclusion
As the 3D animation software improves technologically, the gap between the animated and real worlds is closing. 3D animation is a crucial player in entertainment, virtual gaming, automotive, architecture, biotech, and advertising.
If you found the process for creating a successful 3D animation video hard to commit to memory, then you are in luck. You can always outsource your video project to our Bunny Studios team and get value for your money. We offer video services such as:
- 3D video animation
- Character animation
- Logo animation
- Animated gifs
- Lottie and website animation
- Animation for kids
- Motion graphics
Hire a video producer today and start seeing a return on your video investment.

